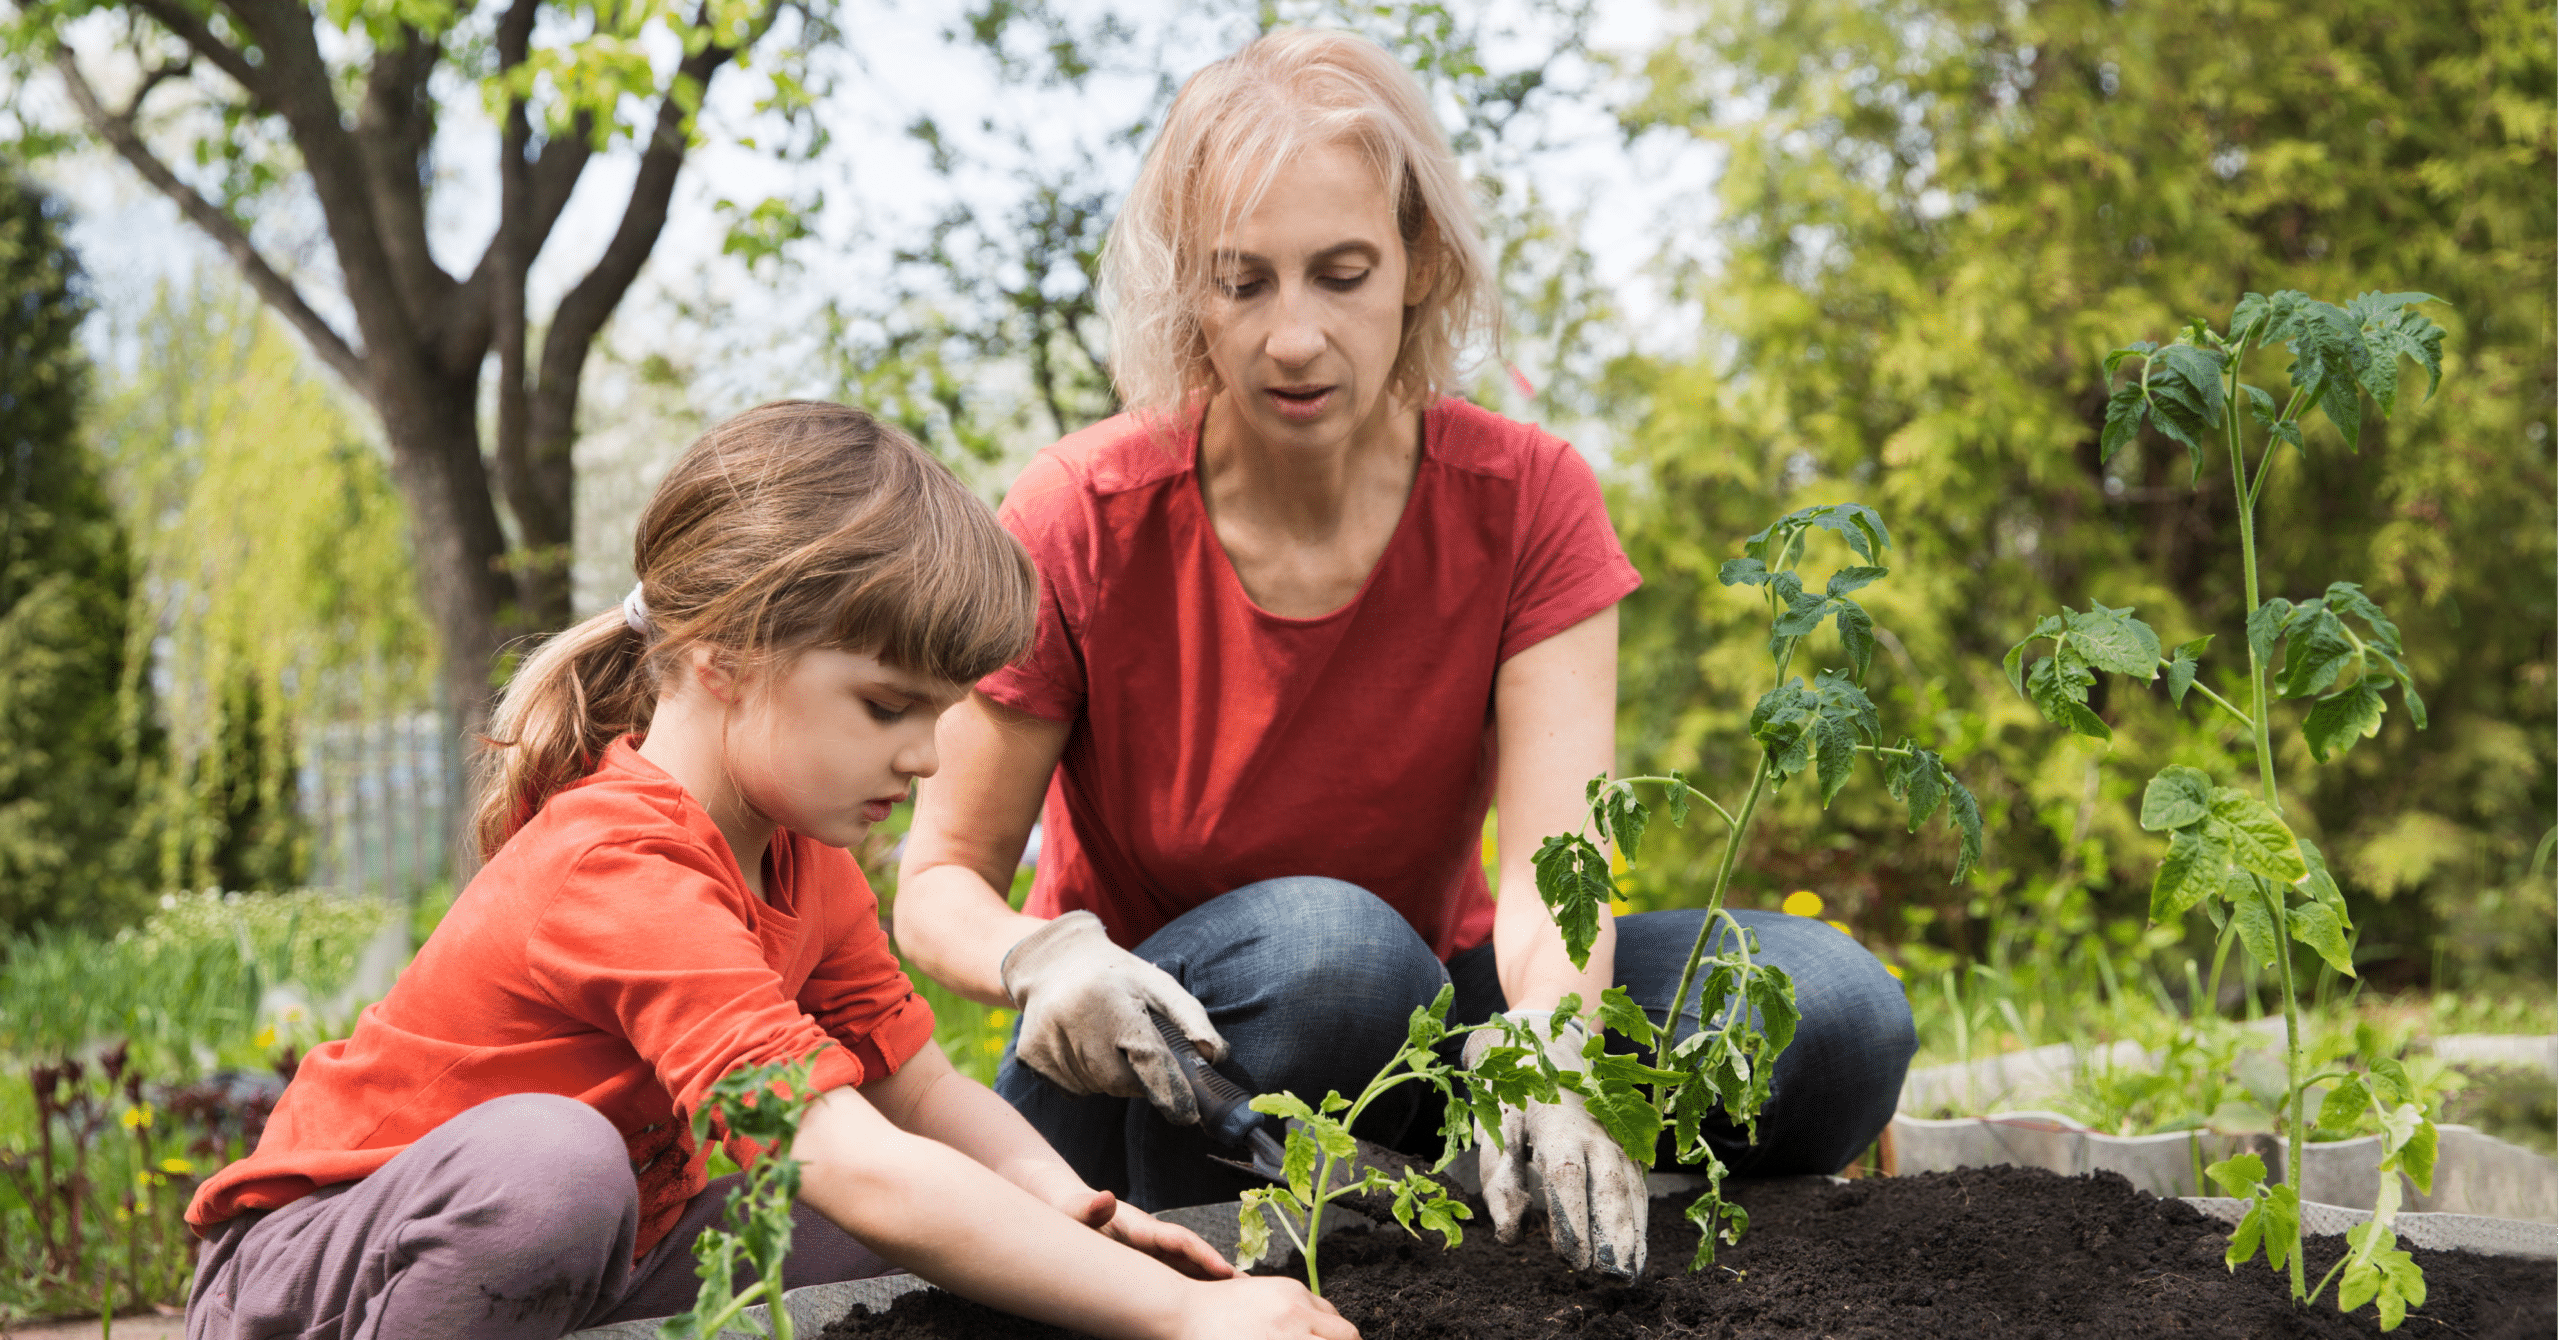
There is no statutory requirement for a school to have its own garden for growing vegetables, fruit and flowers but given that the National Curriculum Science Programme of Study suggests: “Most of the learning about science should be done through the use of first-hand practical experiences”, a growing plot on the school site is desirable- not only in terms of fulfilling curriculum requirements but in supporting pupils’ emotional wellbeing.
But where and how to start? If a school doesn’t have an experienced gardener amongst its staff the prospect will seem daunting-particularly as everyone will already have many demands on their time. (It goes without saying that something intended to promote wellbeing shouldn’t result in stress for anyone!) The obvious answer is to start small. Actually, to start very small.
Here are three beginner projects spread across the year to get your school growing. Pick one, two or all three and scale them up when (and if) you want to.
(Tips for where to site your plot and/or containers can be found in the last section of the blog.)
Project 1 Spring & Summer term
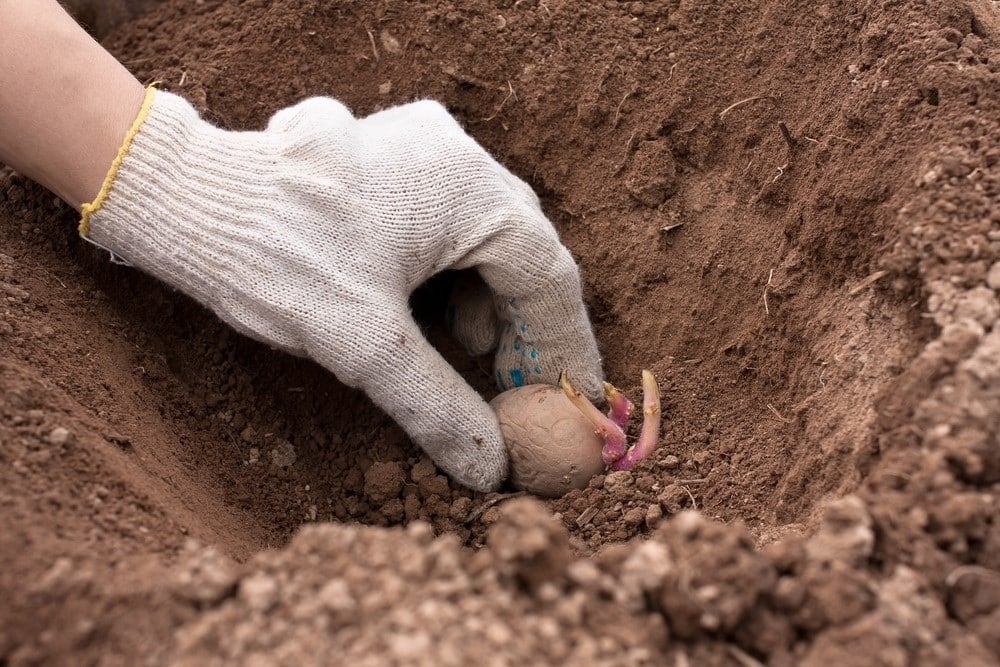
Grow your own potato salad:
plant a ‘first early’ variety of seed potato & either sow some chive seeds (or plant a garden ready plant) which will both crop before the end of the summer term.
Grow Your Own Potatoes (GYOP) provide free potato growing kits for schools. Registration for GYOP 2024 is open until January 2024.
Late Feb/early March
‘chit’ your seed potato tubers indoors on a light window sill. The eyes of the potato will begin to sprout which will accelerate the growing process & they should romp away once planted.
Mid /late March
Chitted tubers can be planted directly into trenches in the ground but that involves a lot of digging. An easier & more child-friendly option is to use (at least) 10-litre pots with good drainage holes or potato growing sacks. Fill the container three-quarters full with compost & put just 2 tubers about 15cm apart & deep. Aim to keep the compost moist & do not allow it to completely dry out.
Chive seeds can be sown in pots on a sunny windowsill. Germination should take about 10 days.
April
Cover the emerging tips of the plants with compost as they grow until the compost level almost reaches the rim.
Chive seeds can now be sown in a sunny spot outside. If you have indoor sown plants the pots can be moved outside to a sunny, sheltered position or you can transplant them into the ground.
Late June/early July
Small flowers appearing on the potato plants indicate that tubers are beginning to develop. When the tops of the plants start to brown a little and die down the crop will be ready. Tip out your potatoes, cut some chives (leave about 3cms of growth) and make your salad!
Project 2 Autumn term
Grow your own autumn salad:
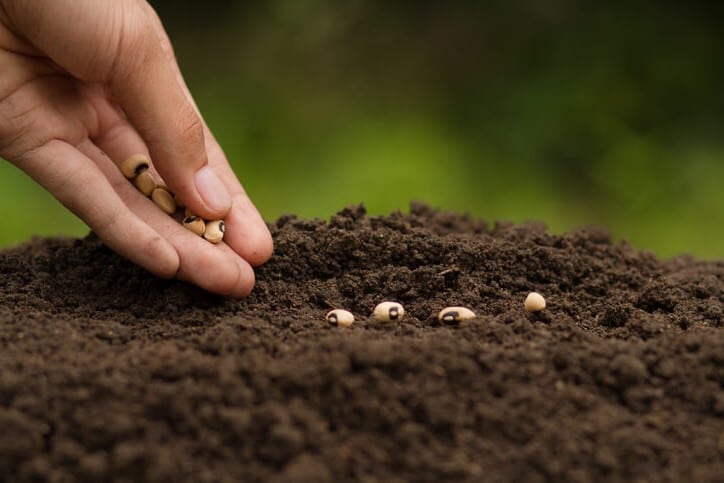
sow mixed leaves & pea shoots that will crop quickly before the half term break.
Early September
As soon as term starts, sow mixed salad leaf & pea seeds in small shallow containers* indoors. Place on a windowsill that gets good light (but not full sun). Keep moist. Germination can be very quick-sometimes only 3/4 days. Leaves and shoots can be cut when they are a few centimetres long usually in 5/6 weeks.
*Plastic fruit containers from supermarkets (the slightly deeper type that grapes come in) are perfect for this and come with drainage holes. The plants are small, grow quickly and don’t need much soil depth.
NB: check the packet & choose the right variety of salad leaf- you need a mix that is happy to be sown at this time of year. Peas are less fussy, especially when sown undercover in this way.
Project 3 Autumn & Spring term
Grow your own Easter bouquet:
plant tulip & daffodil bulbs in autumn for spring flowers that can be cut & displayed in school.
October
Plant your chosen daffodil varieties as directed on the packet. (Bulb sizes vary but as a general guide they should be planted at a depth at least twice their own size.) The bulbs can go direct into the ground or into containers, check each one before planting and discard any that feel (even slightly) soft. Plant pointy side up! Bulbs can right themselves in the ground but their growth will be delayed.
Late November/early December
Tulips, which generally flower later than daffodils, can be planted now. Again, follow the packet guidance. Bulbs in containers can be closer together than those planted in the ground.
February onwards
Your bulbs should need very little attention. Those planted in pots can be tempting to squirrels, so if that’s a problem just peg some chicken wire over the compost. The plants will grow through the wire perfectly well and the squirrels won’t be able to dig the bulbs up. Shoots will emerge in early February and some daffodil varieties will be in flower well before the end of the month. Tulips start in mid April and some varieties are at their best mid to late May. So, if you choose your varieties carefully you could have blooms for up to three months.
Some reliable varieties:
Potatoes: ‘Rocket’ ‘Orla’ ‘Swift’
Salad leaf: ‘Lamb’s Lettuce’ ‘Mizuna’ and any mix specifically labelled ‘Autumn’
Pea shoots: ‘Kelvedon Wonder’ ‘Hurst Green Shaft’ ‘Feltham First’
Daffodils & Tulips (to be honest, any bulbs that are healthy in the packet are going to give you a good show):
Daffodils ‘Ice Follies’ ‘Tete a Tete’ & ‘Hawera’ will provide a good range of size, shape and colour
Tulips ‘Prinses Irene’ (early flowering variety) ‘Spring Green’ (mid) ‘Queen of Night’ (late) will give a long flowering season & a variety of forms
You don’t have to go to a garden centre or nursery. Most supermarkets and DIY stores sell compost and a good range of very reasonably priced seeds and bulbs. You might not find the specific varieties mentioned here but there will be plenty of good alternative options.
Planting in the ground
Crops grown in the ground will generally need less watering than those in containers. Where you site your plot is important. It needs to be sunny, with at least 5/6 hours of sunlight and good drainage. Consider the access from classrooms- you don’t want to be constantly tramping across the school field or playground. If the site is visible so much the better, more people will see it and you will generate more interest and potentially offers of help. Divide your space into several smaller beds rather than having one large one as this will enable children to reach across from each side to dig, plant and weed without treading on and compacting the soil.
Planting in containers
It’s perfectly possible to grow fruit, vegetables and flowers in containers. A few large containers will prove more practical than lots of small ones as they dry out less quickly and plants have more room to put their roots down. Again, choose your site carefully. The ideal is a sunny spot that is not too exposed to the wind- setting your containers against a south-facing wall or fence would be a good option.
Whether you plant direct in the ground or into containers you will have to be organised in terms of watering- particularly about what happens at weekends and during holiday time. Most plants will survive a sunny weekend if watered well on Friday afternoon- but holidays are a different matter entirely. Maybe choose quicker cropping plants that you can harvest in term time rather than perennial plants which are more permanent residents.
Finally, size doesn’t matter! A garden can be a pot or a plot. Sowing even just a few seeds will connect children to nature and initiate learning about plants & growing food.
About the author

Clare McArthur
Clare McArthur started out as a key stage 1 class teacher but went on to spend the majority of her career as a SEND teacher working in mainstream schools- mostly state primaries but with the odd foray into private & key stage 3 education.